Showing posts with label Fructose Free. Show all posts

Tuesday, December 22, 2015

GF/SF Super easy Matcha/ Green tea Chocolate-chip Cookies


<GF/SF Match/ Green tea Chocolate-chip Cookies>


This cookie has a shortbread like texture!
It is brittle but goes so well with milk~ 


Ingredients


2cup almond flour (blenched)
4packets of stevia
1/4tsp salt
1tsp baking powder
1tbsp vanilla extract
3tbsp butter (melted)
4tbsp almond milk
4 tsp matcha powder
1/2cup gluten free chocolate chips


1. preheat your oven to 350degrees
2. mix all the dry ingredients except for matcha powder
3. in another bowl mix liquids ( butter and almond milk) then add in matcha powder and mix well
4. mix the wet to dry or dry to wet ( it doesn't matter for this recipe)
5. add in chocolate-chips
6. form a dough wrap it with plastic wrap and leave it in the fridge for 30mins
( you can skip this step if you are really hungry)

make 12 round flat ball with the dough


bake them for 15 mins


Total serving 12

1 serving 1 cookie

167cal
fat 14.8
carb 5.7
net carb 3
protein 5.2

GLUTEN FREE SUGAR FREE MATCHA MUFFIN


<GLUTEN FREE SUGAR FREE MATCHA MUFFIN>


This muffin seriously taste just like regular flour based muffin, moist and fluffy!!


I used a medium size muffin pan
that makes 6 muffins. 
Ingredients

2cups Almond flour2tsp gluten free baking powder1/4tsp salt4 tbsp butter melted4 eggs1/3 cup water5 packets of stevia2tbsp matcha powder or green tea powder (add more if you are using
green tea powder)


Steps

1. Preheat your oven to 450degrees
2.mix all the dry ingredients except for the matcha powder
3. dissolve matcha powder with water (make sure the water is hot)
4. add wet ( butter, eggs, water, matcha mixture) to dry

add chocolate chips of nuts if you want to!

bake for 25-30mins


Total Servings 6 Medium Muffins1 Serving    310cal Fat 26.8g Carbs 8.7g Net Carbs 4.3 Protein 12.6 

Tuesday, November 17, 2015

Gluten & Sugar Free Carrot Cake


Gluten & Sugar Free Carrot Cake


Ingredients

1 1/4 cups Shredded Carrots 당근 간 것
3 Eggs 달걀
1 1/4 cup of almond meal 아몬드밀
1/4 cup of coconut meal 코코넛가루 (아몬드나 다른 밀가루로 대체가능)
1/2tsp baking powder 베이킹파우더
1/2tsp baking soda 베이킹소다
4-5packets of stevia (or 3/4 cup brown sugar) 스테비아나 흑설탕
1tsp of cinnamon 계피
1/8tsp nutmeg 넛메그 (생략가능)
1/4tsp salt 소금
1 1/2 tsp vanilla 바닐라
2tbsp of coconut oil 코코넛오일 이나 다른 오일
1/2 cup plain yogurt 플레인 요거트
handful of walnuts 호두한줌

icing(아이싱)

Cream cheese 크림치즈
plain yogurt 요거트
stevia  스테비아나 아이싱슈거


영상으로 확인 클릭!


머핀  6개
6 Muffins


1. Preheat your oven to 350/170 and line your muffin tin

2. In a mixing bowl, stir almond flour, coconut flour, baking soda, baking powder, cinnamon, nutmeg and salt until well combined. 

3.In another bowl, beat eggs, coconut oil, vanilla extract, plain yogurt and sugar  until it is well incorporated.

4.stir in dry to wet ingredients

5.add in grated carrots and walnuts (leave some for decorations)

6.pour them in to muffin tin and bake for 30mins (toothpick test!)


ICING


Add Cream cheese and to your liking add plain yogurt 
to make it a bit lighter!
if you like it thick then add accordingly.

mix it well with stevia or powder sugar!


1. 170도로 예열하고 머핀틴은 유산지나 머핀용지를 깔아준다

2. 아몬드밀, 코코넛 가루, 베이킹 소다, 베이킹 파우더, 계피, 넛메그와 소금을 넣고 잘 섞어준다

3. 다른 용기에 계란을 풀어주고 코코넛 오일 바닐라 플레인 요거트와 설탕을 넣고
잘섞일때까지 섞어준다

4. 2번을 3번에 섞어준다

5. 당근과 호두를 넣어준다 (호두는 조금 남겨서 데코용으로 사용)

6. 머핀틀에 부어주고 30분동안 구워준다


아이싱

크림치즈에 원하는 농도가 나올때까지 플레인요거트를 넣어주고
스티비아나 파우더슈거로 단맛을 낸다!


Saturday, October 24, 2015

Super Easy Egg N Tuna Rice


Super Easy Egg Tuna Rice 

참치 덮밥


Alright, so this meal is super easy
I won't even want to call it a recipe.

This is just to give you guys an idea on what to eat
before a workout or anytime of the day when you are in a hurry.


Every weekend, I do morning workouts because I can 
never fit one in during week days. 

I have to go to school super early in the morning
so for me to do a perfect "feel perfectly exhausted but great" workout
I need them done first thing in the morning.

However, unless I do cardio I try to feed myself 
proper food first. Unfortunately, that is really hard
when you are living on a budget and when you are
just too lazy to spend more than 10 mins cooking one.


That is why I eat my super easy egg n tuna rice!
It's literally super easy to make and I always have 
these ingredients ready. 

Also, it contains protein, omega (fat), and good source of carbohydrate
from the brown rice I use.

( okay for me because I'm Korean, I have rice ready for me to eat
anytime of the day. Our market store microwavable rice and 
I stock up on them like crazy!)


If you can't find microwavable rice 
what you can do is cook a big amount of rice,
distribute them separately in a plastic bag (portion them out)
throw them in the freezer.

Every time you want rice just take it out
spritz some water over and micro them for 3mins
and there's your fresh steaming rice!


That is a great tip right? 


Ingredients


Egg
Can Tuna (Salmon works too!)
pepper & Salt
rice ( as much as you like)

optional

soy sauce
sesame oil
KIMCHI! (as a garnish)


Direction

1. cook your egg first (just fry em')

2. in a clean pan dump in your tuna (make sure to drain out some oil before)

3. dump in your rice

4. stir well then season them with salt and pepper

5. If you want more flavor add sesame oil (1/4 tbsp) and soysauce!

6. sometimes I add kale or kimchi to make it more flavorful!

7. Stir fry the rice and other ingredients till it's well corporated

7. top it off with egg 

8. Enjoy !

Friday, October 16, 2015

Bacon Chicken and Jalapeno Mac n Cheese


Bacon Chicken and Jalapeno Mac n Cheese


Mouth watering right?
if you enjoy cheesy goodness you are in the right place.


Actually I was trying to make original Mac n Cheese
which only has nothing but pasta and cheese sauce.

However, I thought I can make it 
much healthier and better by adding some healthy ingredients
and taking bad ingredients out.


Also, I invited my friends over and they don't like
things that are too greasy

so I added some kick to my recipe.


For some spicy kick I added jalapenos and cayenne pepper.
For good fiber and taste broccoli and bell peppers.

Last but not least, I sprinkled in some crispy bacon for that
savory goodness!


For regular mac n cheese recipe, you need to add in 
heavy cream and loads of cheese.

I in other hand took the heavy cream out
( I didn't have any) and substituted it with milk.


Using milk made my mac n cheese look less cheesier but
I promise you that it tastes amazing!


Ingredients

(alternate your measurement depending on your taste)


pasta (gluten free)
broccoli
bell pepper
jalapenos
chicken breast ( I used about 200g)
bacon
Colby jack cheese
cheddar cheese 
any cheese you prefer 
milk (I used about 2 cups)
butter

seasoning
salt
pepper
cayenne pepper (optional)
Parmesan cheese 


Directions


1. cook your pasta
2. cook your bacon 
3. set bacon aside when they are crispy
4. grease your pan with butter or oil
5. melt your cheese in buttered pan then add milk 
6. stir it to mix
7. when your pasta is cooked drain the water and place it in oven dish
8. pour in cheese mixture
9. in a clean pan cook chicken breast and sliced veggies 
season it with salt and pepper ( I also used Dijon mustard)
10. when chicken and veggies are cooked pour bacon, jalapeno, sauce with 
the pasta in a oven dish
11. to preheated 450F 200C bake it for 15mins


Thursday, October 15, 2015

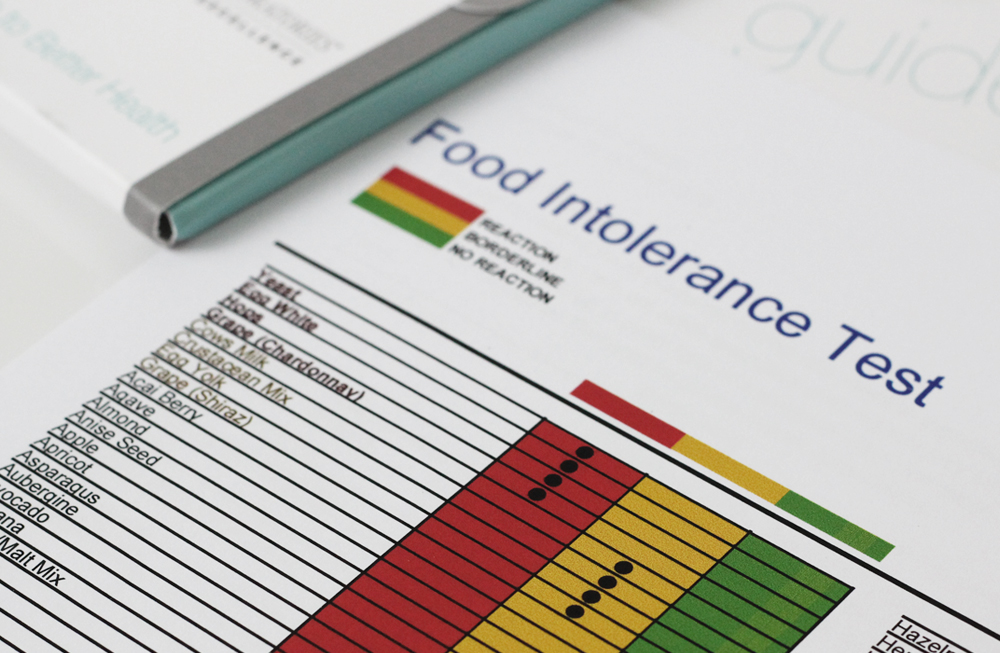
알러지 VS 음식과민증 (Allergy vs Food intolerance ) 증상


Allergy VS  Food Intolerence  


알러지와 음식과민증의 다른 점이 무엇일까요?
솔직히 많은 분들이 둘을 같은 걸로 보시더라구요.
 
그래서 이 포스팅을 통해 무엇이 다른건지 알려드리려고해요.
 
한국에서는 잘 알려지지 않아서
거의 모든 내용들이 영어문서로만 나와있네요.


자, 일단 최대한 간단하게 비교를 해보겠습니다.
 
 
음식 알러지
 
1. 면역시스템의 문제로 인한 반응
2. 특정한 음식을 독으로 몸이 인지함
3. 두드러기와 같은 통증이나 증상이 바로 나타남
4. 조금만 먹더라도 증상이 보임
5. 유전이 거의 많고, 다시 고칠 방법 없음
 
음식과민증
 
1. 소화기의 문제로 인한 반응
2. 소화기관에서 특정한 음식을 소화시키거나 연료로 바꾸지 못함
3. 면역과 상관은 없지만 면역이 약해지면 음식과민증을 보일 수 있음
4. 증상이 하루나 일주일 후에 보일 수 있음
5. 조금의 음식량은 음식과민증에 상관없을 수 있음
6.증상이나 과민증을 분별하기 어려움
 
(저 처럼 음식과민증이 유전일 수도 있답니다)


밑 차트는 제가 한글로 적어놓은 것들입니다


또 다른 점은 알러지와 음식과민증을
테스트하는 방법인데요.


알러지는 위처럼
다른 성분을 몸에 주사로 투입하던지
올려 놓아서 몸의 즉각 반응을 테스트합니다.
 
하지만 음식 과민증은
소화기관 문제이기 때문에 다른 방식으로 합니다.
 
 
거의 큰병원에서만 테스트가 가능하니깐
동네 병원에가서 어디로 가는 것이 좋은지를
물어보는 것이 가장 좋을 것 같아요.
 
가장 가까운 기관을 찾을 수 있으니까요.
 
비용은 솔직히 10-40만원대 다 다르다고해요.
 
거의 15만원 선이라고 들었습니다.


일단
저처럼 셀리악 (글루텐) 과민증이 있으신 분들에게
보일 수 있는 증상을 볼까요?


여드름, 설사, 피부암, 천식, 비듬,
기침, 탈모, 체중증가, 체중감소....근육통까지...


정말 어떻게 보면
전체적으로 몸이 약한 사람은
 
이게 음식과민증인지 원래 몸이 이런건지
헷갈릴 정도로
 
 
알러지처럼 분별하기 쉬운 증상들이 아니죠?


이러니 저도 23년을
음식과민증이 있는지도 모르고 살아온거죠 ...


이렇게 얼마나 알러지랑
음식과민증이 다른지 아셨으니
 
꼭 만약 몸이 이유도 모르게,
병원에서도 아무이상 없다고 하지만
 
아유없이 아프다면
 
 
꼭 테스트를 받아보시길 바래요 !


Saturday, October 10, 2015

글루텐프리&무설탕&키토 치즈케이크


정말 예쁘게 생겼죠?

오늘은 제가 집에서 만든 크림치즈를 빨리
사용하고 싶어서

이 레시피 저 레시피 다 찾아다녔거든요.

그런데 찾는 치즈케이크 레시피 마다
사워크림을 요구하더라고요.

그런데 제가 코스트코 빼고, 외국식품점 빼고
주위에 모든 곳을 돌아다녀도
사워크림은 안팔더라고요...

그래서 어떻게 해야지 하다가
그냥 빼고 만들어 보기로했어요.

치즈도 내일까지 다 사용해야하기 때문에.


그냥 이마트에서 파는 이마트표 대용량 플레인 요거트사서
거즈에 물기 다 뺀 아이라
거의 3-4일은 냉장고에서 물기 빼는 작업하느라...
빨리 먹어야하는게 흠이라면 흠이네요.

그래도 크림치즈 하나에 너무 비싸서
이렇게라도 먹어야겠더라고요.


설탕은 스티비아로 대체했는데,
원래는 스티비아의 그 특유의 쓴맛 때문에
저번에 한번 먹어보고 안먹는데

여기에 사용했더니
쓴맛이 다 날라갔더라고요!

초콜렛이랑 스테비아는 진짜 안어울리는데
이런 치즈 음식에는 어울리는 것 같아요.

만약 과당이나 설탕 상관없다 하시면
설탕도 저 대신에 많이 넣어주시고,
냉동과일이나 생과일도 넣어주시면

정말 맛있을 것 같아요!


일단 맛은 다른 치즈케이크와 다를 건 없어요.
뭐 당연히 한국에서 (파리바게트) 에서 파는 빵같은 치즈케이크보다는
어떻게 보면 덜 꾸덕한 뉴욕스타일 치즈케이크에요!

무스필링 같은 느낌이에요~!

그런데 바닐라 엑스트렉이 진짜 중요할 것 같아요.
바닐라 향이 나는게 정말 큰 몫하는 것 같아요.


Ingredients


크러스트

1 cup 아몬드 가루
2 tbsp 무설탕 코코아 파우더
3 tbsp 녹인 버터

필링

2 계란
1/2 바닐라 엑스트렉
 스테비아 3봉지 (1tbsp)
4 cups 크림치즈 (꾸덕한 그릭요거트)


오븐은 350F/ 175C  으로 예열해주세요

1. 크러스트를 만들기 위해 아몬드가루, 코코아 가루 와 녹인 버터를 섞어주세요
2. 케이크 틀에 잘 눌러서 펴주세요
3. 다른 용기에 계란 두개를 풀어주세요
4. 바닐라, 스테비아 그리고 크림치즈를 넣고 섞어주세요
5. 크러스트 위에 4번을 부어주세요


6. 30분 구워주시면 끝 입니다 ~


유투브

[GF&SF&Keto] Cheese Cake (no sour cream!)


Looks beautiful, right?

Once again,
I was in search for a cheese cake recipe
and of course again I was short on few ingredients.

In Korea, it's hard to find sour cream.
I don't know why because they have cream cheese and
almost every kind of dairy products except for sour cream.


Unfortunately, almost all the recipe I found 
required sour cream, lemon and sugar.


I was about to go out and look for sour cream or lemon at least 
but my homemade cream cheese was about to expire!

I had drained /gaused the extra water out from
regular plain yogurt for 3-4days to make them thick like cream cheese.

I guess if you do it with greek yogurt which is already thick, 
and drain more water out it will become denser cream cheese.

Anyways, so I didn't have any other choice but to 
experiment without sour cream and lemon.


I just took them (ingredients I didn't have) all out and substituted sugar with stevia.
I don't usually use stevia but I knew this recipe needed it.
Thankfully the peculiar taste of stevia was actually gone when 
it was incorporated with the mixture.

I hate the taste of stevia in chocolate desserts. It really taste bitter and sweet 
at the same time. 


When I tried my cheese cake, I was actually really impressed!
It was sweet as if it was made with actual white sugar.
The texture was just like any other cheese cake 
(well less dense than New York cheese cake) .

The crust was nutty and chocolaty; thanks to unsweetened cocoa power.


To be honest, the taste over all was great but 
I think I should of added some lemon if I had one.


Oh, and guys use the pie or cake pan that detaches from the bottom
( I totally forgot what they were called)

I had a hard time getting my cake out; 
well I should of had them in the fridge much longer..

but I just couldn't wait!!


Ingredients


Crust 

1 cup of almond flour
2 tbsp of unsweetened cocoa powder
3 tbsp of melted butter


Filling

2 eggs
1/2 tbsp of vanilla extract
3 packets of stevia
4 cups of cream cheese (thick greek yogurt)


preheat your oven to 350C/ 175F  

1. mix almond flour, cocoa powder and butter
2. mix them well and press them gently in to the pie or cake tin
3. in a separate bowl, crack 2 eggs then whisk
4. add vanilla, stevia and cream cheese till it is thoroughly mixed
5. pour it on top of the crust
6. bake it for 30 mins 


Youtube